





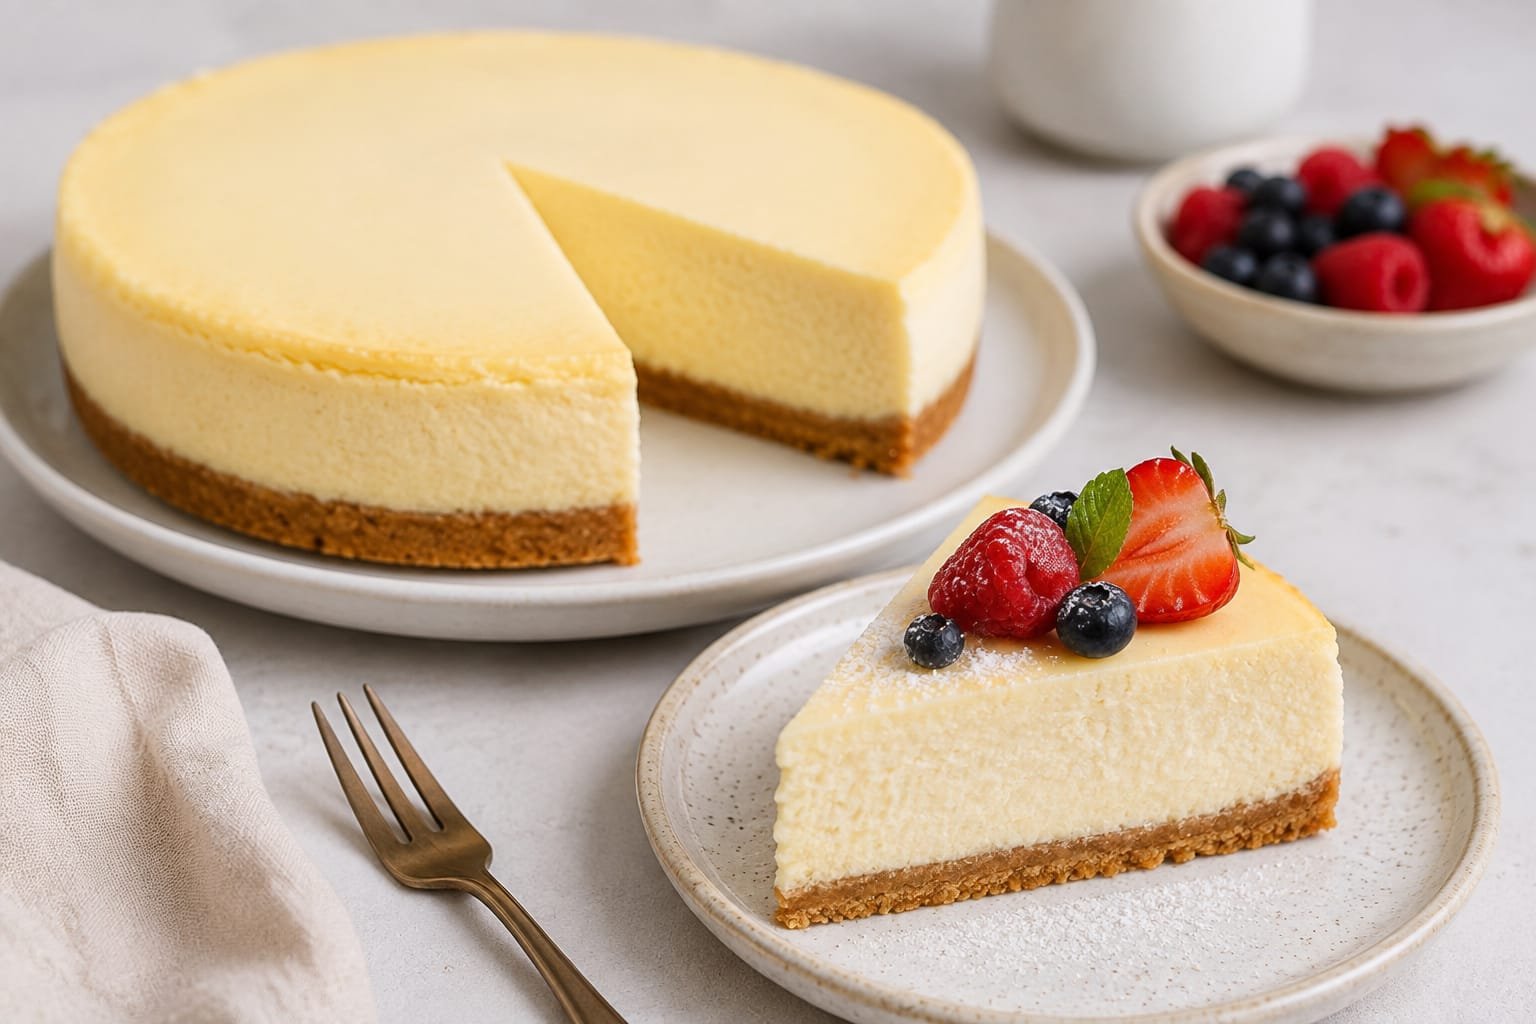
Thermomix Fluffy Cheesecake: If you love cheesecake but prefer something light, soft and beautifully fluffy, this Thermomix cheesecake is one to try. It has a creamy centre, a delicate texture and a lovely golden top. It feels indulgent without being overly heavy, making it perfect for afternoon tea, family gatherings, birthdays or simply when you want something special with a cup of coffee.
The Thermomix makes the preparation wonderfully simple. The ingredients are blended smoothly, while the egg whites are whipped separately to give the cheesecake its characteristic light and fluffy texture.
This is the kind of dessert that looks impressive when served but is actually quite easy to make at home.
Ingredients
For the base
- 180 g digestive biscuits
- 70 g unsalted butter, melted
- 1 tablespoon sugar, optional
For the cheesecake filling
- 500 g full-fat cream cheese, softened
- 100 g Greek yogurt
- 100 g caster sugar
- 3 large eggs, separated
- 1 teaspoon vanilla extract
- 20 g cornflour
- 1 tablespoon lemon juice
- Finely grated zest of 1 lemon
- 100 g milk
- 1 small pinch of salt
For serving
- Fresh strawberries
- Raspberries or blueberries
- Icing sugar
- Fresh cream, optional
- Lemon zest
- Berry sauce, optional
Method ,
- 1 Prepare the tin
Preheat your oven to 160°C.
Line the base of a springform cake tin with baking paper. Lightly grease the sides so the cheesecake can be removed more easily after baking.
For an extra-soft cheesecake, you can bake it using a water bath. Wrap the outside of the cake tin carefully with foil to prevent water from getting inside.
- Make the biscuit base
Place the digestive biscuits into the Thermomix bowl.
Crush for approximately 8 seconds / Speed 7, or until you have fine crumbs.
Add the melted butter and optional sugar.
Mix for 10 seconds / Speed 4 until the crumbs are evenly coated.
Transfer the mixture into the prepared cake tin.
Press the crumbs firmly and evenly across the bottom using the back of a spoon or the bottom of a glass.
Bake the base for approximately 8–10 minutes, then remove it from the oven and allow it to cool slightly.
- Prepare the cheesecake filling
Make sure the cream cheese is soft before beginning.
Place the cream cheese, Greek yogurt, caster sugar, egg yolks, vanilla, cornflour, lemon juice, lemon zest, milk and salt into the Thermomix bowl.
Mix for approximately 30 seconds / Speed 5.
Scrape down the sides of the bowl and mix again for another 15–20 seconds / Speed 5.
The mixture should be completely smooth and creamy.
Avoid overmixing at this stage because too much air can cause the cheesecake to rise quickly and then crack as it cools.
Transfer the mixture into a separate large bowl.
Clean and dry the Thermomix bowl thoroughly.
4. Whip the egg whites
The egg whites are the secret to achieving that lovely fluffy texture.
Insert the butterfly whisk into the clean, dry Thermomix bowl.
Add the three egg whites.
Whip for approximately 2–3 minutes / Speed 3.5, until they become white, thick and foamy.
You want soft to medium peaks rather than extremely stiff egg whites.
Remove the butterfly whisk.
5. Fold everything together
Add about one-third of the whipped egg whites to the cream cheese mixture.
Gently fold them through using a spatula.
Continue adding the remaining egg whites in two additions.
Fold gently rather than stirring aggressively. The goal is to keep as much air in the mixture as possible.
This is what helps create the light and fluffy cheesecake texture.
Once everything is combined, the mixture should look smooth, creamy and slightly airy.
6. Fill the cake tin
Pour the cheesecake mixture gently over the cooled biscuit base.
Smooth the top with a spatula.
Tap the tin very gently once or twice on the bench to remove any large air bubbles.
If you are using a water bath, place the cake tin inside a larger roasting tray and carefully add hot water around the outside of the tin.
The water should come about halfway up the sides of the cake tin.
7. Bake
Place the cheesecake carefully into the preheated oven.
Bake at 160°C for approximately 50–65 minutes.
The exact baking time can vary depending on your oven and the size of your tin.
The cheesecake should look set around the edges but still have a gentle wobble in the centre.
Try not to open the oven door repeatedly while it is baking.
Once baked, turn the oven off and leave the cheesecake inside with the door slightly open for around 20–30 minutes.
This gradual cooling can help prevent the cheesecake from collapsing or cracking suddenly.
Remove it from the oven and allow it to cool completely at room temperature.
Then refrigerate for at least 4 hours, preferably overnight.
8. Decorate and serve
Once completely chilled, carefully remove the cheesecake from the tin.
Dust the top lightly with icing sugar.
Add fresh strawberries, raspberries or blueberries for a beautiful finish.
You can also drizzle a little berry sauce over each slice or serve it with a spoonful of lightly whipped cream.
For a fresh citrus flavour, add a little finely grated lemon zest just before serving.
The cheesecake is delicious cold and creamy straight from the refrigerator.
Tips for the Fluffiest Cheesecake
Use room-temperature cream cheese and eggs. Cold ingredients can make the filling harder to blend smoothly.
Make sure the Thermomix bowl is completely clean and dry before whipping the egg whites. Even a small amount of grease can affect the whipping process.
Don’t overbeat the egg whites until they become very dry. Soft or medium peaks are easier to fold into the cheesecake mixture without losing too much air.
Fold the egg whites gently. This step is important because the air trapped inside the whipped egg whites gives the cheesecake its lighter texture.
Avoid opening the oven frequently while baking.
Most importantly, allow the cheesecake to cool gradually. Sudden temperature changes can cause it to sink or crack.
Easy Flavour Variations
Chocolate Cheesecake
Add 25–30 g unsweetened cocoa powder to the cream cheese mixture and replace part of the biscuit base with chocolate biscuits.
Lemon Cheesecake
For a stronger lemon flavour, add extra lemon zest and a little more lemon juice. Top with thin lemon slices or a homemade lemon sauce.
Berry Cheesecake
Swirl a few spoonfuls of raspberry or strawberry sauce through the filling before baking.
Vanilla Berry
Keep the filling simple and add plenty of fresh berries on top after chilling. This version is light, fresh and perfect for summer.
White Chocolate
Melt around 100 g white chocolate and allow it to cool slightly before mixing it into the cream cheese mixture. Reduce the sugar slightly because white chocolate is already sweet.
Storage
Keep the cheesecake covered in the refrigerator.
It is best enjoyed within 3–4 days.
You can also freeze individual slices. Wrap them well and place them in an airtight container. Thaw overnight in the refrigerator before serving.
Final Thoughts
This fluffy Thermomix cheesecake is a lovely combination of creamy, light and delicious. The buttery biscuit base gives it a little crunch, while the whipped egg whites create a softer and lighter filling.
It is simple enough for a weekend baking project but special enough to serve to guests.
If you make it, I’d love to know how you served yours — classic with fresh berries, lemony and fresh, chocolatey and rich, or topped with a beautiful berry sauce?
