



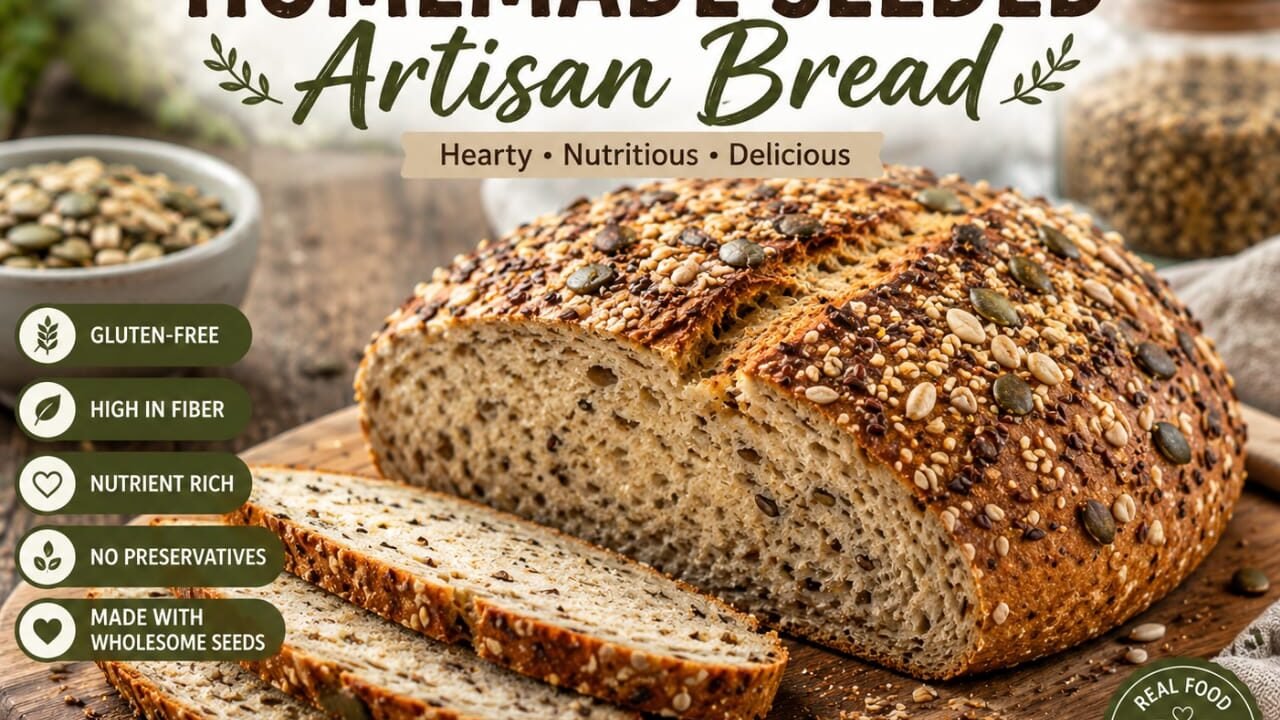

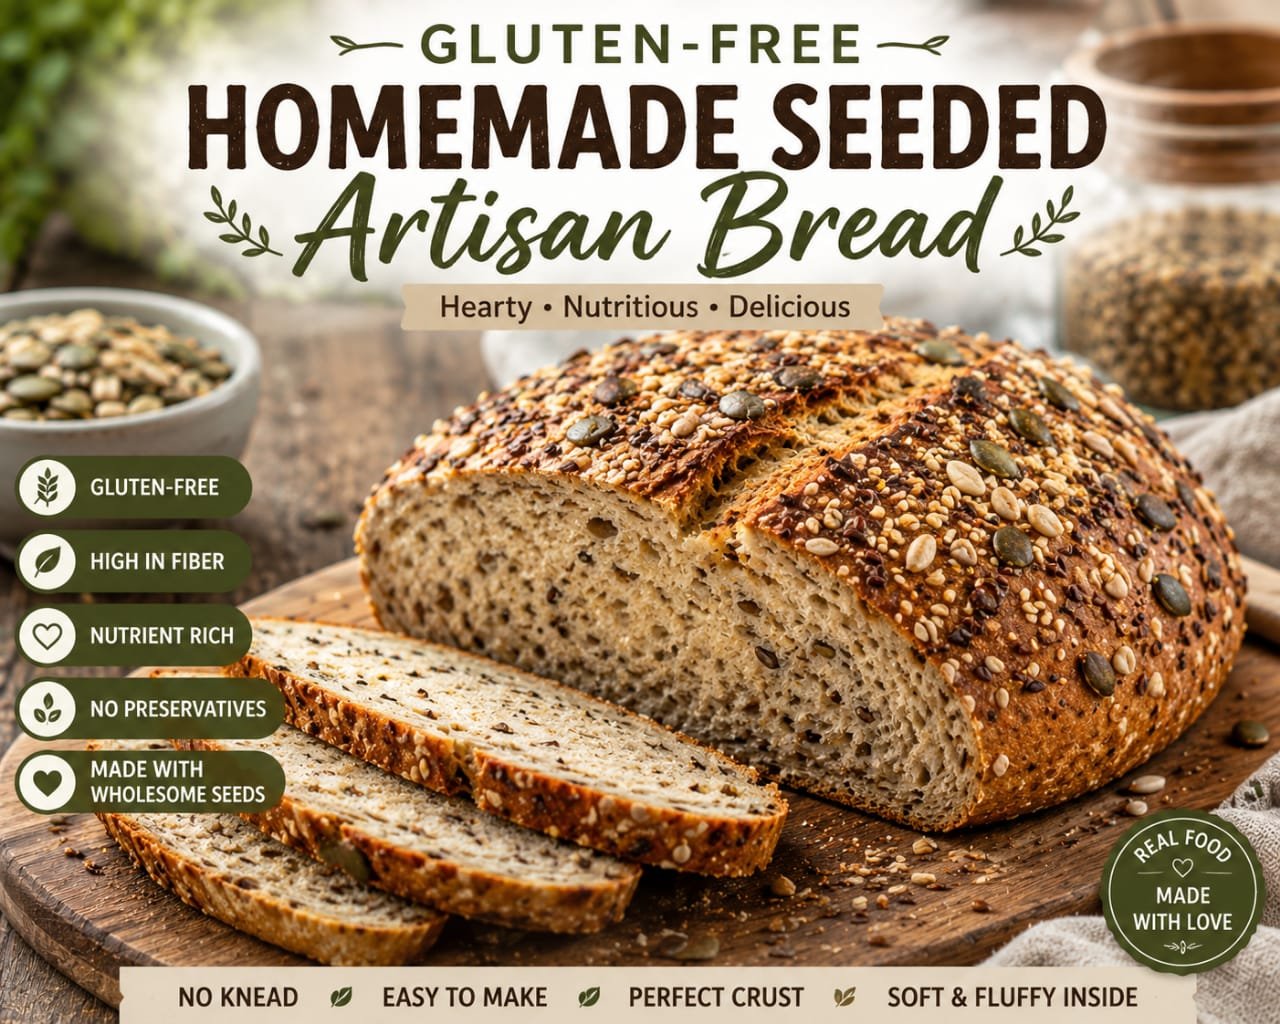
Gluten-Free Homemade Seeded Artisan Bread: This Gluten-Free Homemade Seeded Artisan Bread is a delicious, hearty loaf with a crisp golden crust, soft tender center, and plenty of crunchy seeds. It is made without wheat, barley, or rye and is designed using carefully selected gluten-free ingredients.
It is perfect for breakfast, sandwiches, avocado toast, soups, salads, or simply enjoying warm with butter.
For anyone following a strict gluten-free diet, especially people with celiac disease, always choose ingredients that are specifically labeled gluten-free and take care to prevent cross-contact during preparation. Naturally gluten-free ingredients can still become contaminated during processing or preparation.
Why You’ll Love This Bread
- Gluten-free when prepared with properly labeled gluten-free ingredients
- No wheat, barley, or rye
- Packed with nutritious seeds
- Crispy on the outside
- Soft and tender inside
- Perfect for toast and sandwiches
- Easy to prepare at home
- Can be frozen for later
- Delicious with both sweet and savory toppings
Ingredients
For the Bread Dough
- 2 cups certified gluten-free all-purpose flour blend
- 1 cup certified gluten-free oat flour
- ½ cup tapioca starch
- 2 teaspoons instant yeast, gluten-free labeled
- 1½ teaspoons salt
- 1 tablespoon honey or maple syrup
- 2 tablespoons olive oil
- 1½ cups warm water, approximately 105–110°F (40–43°C)
- 1 tablespoon psyllium husk powder
- 1 teaspoon apple cider vinegar
Important: If using oat flour, choose a product specifically labeled gluten-free. Oats can be exposed to wheat, barley, or rye during processing.
Seed Mixture
Use gluten-free labeled seeds:
- 3 tablespoons sunflower seeds
- 3 tablespoons pumpkin seeds
- 2 tablespoons sesame seeds
- 2 tablespoons flax seeds
- 1 tablespoon chia seeds
- 1 tablespoon poppy seeds
For the Topping
- 1 tablespoon milk or beaten egg
- 3 tablespoons mixed gluten-free seeds
Equipment
- Large mixing bowl
- Wooden spoon or silicone spatula
- Kitchen towel or plastic wrap
- Baking tray
- Baking parchment
- Dutch oven or heavy baking dish
- Cooling rack
- Sharp bread knife
Before beginning, make sure all equipment, work surfaces, bowls, utensils, and storage containers are thoroughly clean and free from gluten residue.
Step 1: Prepare the Seeds
Place the sunflower seeds, pumpkin seeds, sesame seeds, flax seeds, chia seeds, and poppy seeds into a clean bowl.
You can lightly toast the seeds for a deeper nutty flavor.
Heat a dry skillet over medium heat.
Add the seeds and stir continuously for approximately 2–3 minutes.
Do not burn them.
Transfer the seeds to a clean plate and allow them to cool completely.
Reserve approximately 3 tablespoons for topping the loaf.
Step 2: Prepare the Psyllium Mixture
In a small bowl, combine the warm water and psyllium husk powder.
Stir well and allow it to stand for approximately 5–10 minutes.
The mixture will become slightly thick and gel-like.
This helps provide structure to the gluten-free dough because gluten is not present to create the usual stretchy bread structure.
Step 3: Mix the Dry Ingredients
In a large clean bowl, combine:
- Gluten-free flour blend
- Gluten-free oat flour
- Tapioca starch
- Gluten-free instant yeast
- Salt
Mix thoroughly.
Add the cooled seed mixture and stir until evenly distributed.
Step 4: Add the Wet Ingredients
Add the psyllium mixture, honey or maple syrup, olive oil, and apple cider vinegar.
Mix thoroughly using a silicone spatula or wooden spoon.
The dough will look different from traditional wheat bread dough.
It will be thick, sticky, and slightly soft.
Do not add large amounts of extra flour. Gluten-free dough needs more moisture than traditional wheat dough.
Step 5: First Rise
Cover the bowl with clean plastic wrap or a clean kitchen towel.
Place the dough in a warm, draft-free area.
Allow it to rise for approximately 60–90 minutes.
The dough should become noticeably puffy.
Gluten-free dough does not always double in size like wheat dough, so look for a clear increase in volume rather than expecting it to exactly double.
Step 6: Shape the Loaf
Place a sheet of clean gluten-free baking parchment onto your work surface.
Transfer the dough onto the parchment.
Using a wet or lightly oiled spatula, gently shape it into a round loaf.
Avoid adding lots of flour because this can make the bread dry.
Smooth the surface gently with wet hands or a spatula.
Step 7: Second Rise
Cover the shaped loaf loosely.
Allow it to rest for approximately 30–45 minutes.
Meanwhile, preheat your oven to:
425°F (220°C)
If using a Dutch oven, place it in the oven while it preheats.
Step 8: Add the Seed Topping
Lightly brush the surface with milk or beaten egg.
Sprinkle the reserved gluten-free seed mixture over the top.
Gently press the seeds onto the surface so they remain attached during baking.
Make a shallow slash across the top with a clean sharp knife.
Step 9: Bake
Dutch Oven Method
Carefully transfer the dough, together with the parchment paper, into the preheated Dutch oven.
Cover with the lid.
Bake for:
- 30 minutes covered
- 15–20 minutes uncovered
The loaf should become golden brown and develop a firm crust.
Baking Tray Method
If using a baking tray instead of a Dutch oven, place the loaf on the parchment-lined tray.
Bake for approximately 40–50 minutes, or until the bread is deeply golden and cooked through.
The exact baking time may vary depending on your oven and loaf size.
Step 10: Cool Completely
Remove the bread from the oven.
Place it on a cooling rack.
Allow it to cool completely for at least 1½–2 hours before slicing.
Gluten-free bread needs sufficient cooling time to finish setting its interior.
Cutting it too early can result in a sticky or gummy center.
Once completely cool, slice with a clean serrated knife.
Tips for Better Gluten-Free Bread
Choose Gluten-Free Flour Carefully
Use a gluten-free flour blend designed for bread or baking.
Check the package label carefully rather than assuming that a flour is gluten-free.
Use Gluten-Free Oat Flour
If using oat flour, choose only a product specifically labeled gluten-free. Oats are naturally gluten-free but can become contaminated with wheat, barley, or rye during growing and processing.
Do Not Add Too Much Flour
Gluten-free dough generally needs adequate moisture.
Adding excessive flour can produce a heavy and dry loaf.
Give the Bread Enough Time to Cool
Cooling is especially important for gluten-free bread because the crumb continues to set after baking.
Prevent Cross-Contact
Use clean utensils, bowls, cutting boards, baking surfaces, and storage containers.
Do not place the gluten-free bread on a surface covered with wheat crumbs or flour.
Cross-contact can occur through shared utensils and preparation surfaces.
Delicious Variations
Garlic Herb Seed Bread
Add:
- ½ teaspoon garlic powder
- 1 teaspoon dried rosemary
- 1 teaspoon dried thyme
- ½ teaspoon dried oregano
Make sure all packaged seasonings are gluten-free labeled.
Cheese Seed Bread
Add approximately ½ cup grated cheese that is confirmed gluten-free.
Cinnamon Seed Bread
Add:
- 1 teaspoon cinnamon
- 2 tablespoons raisins
- 1 tablespoon honey
Nutty Seed Bread
Add chopped walnuts, almonds, or pecans that are labeled gluten-free.
Serving Suggestions
Enjoy this gluten-free seeded bread with:
Breakfast
- Butter
- Avocado
- Eggs
- Peanut butter
- Honey
- Gluten-free jam
Lunch
- Chicken sandwiches
- Tuna sandwiches
- Egg salad
- Grilled cheese
Dinner
Serve alongside:
- Gluten-free soup
- Salads
- Stews
- Roasted vegetables
- Gluten-free pasta dishes
Storage
Once completely cool, store the bread in a clean airtight container or suitable gluten-free bread bag.
Keep at room temperature for approximately 2–3 days.
For longer storage, slice the bread and freeze it in a clean freezer-safe container or bag.
Frozen slices can be toasted directly from frozen.
Important Celiac Safety Reminder
This recipe is designed to be gluten-free, but the final safety depends on the ingredients and preparation environment.
Always check every packaged ingredient for a gluten-free label. Wheat-free does not necessarily mean gluten-free, and cross-contact must also be prevented.
If preparing the bread for someone with celiac disease, keep it completely separate from regular wheat bread, flour, crumbs, shared cutting boards, toasters, and other gluten-containing foods.
Final Thoughts
This Gluten-Free Homemade Seeded Artisan Bread is a wonderful alternative to traditional wheat-based bread. It has a beautiful seeded crust, a soft interior, and plenty of flavor.
With gluten-free flour, tapioca starch, psyllium husk, and a nutritious mixture of seeds, you can create a satisfying homemade loaf without wheat, barley, or rye.
Enjoy it fresh, toasted, or as the base for your favorite gluten-free sandwich.
Always use properly labeled gluten-free ingredients and prevent cross-contact when preparing food for someone with celiac disease.
