





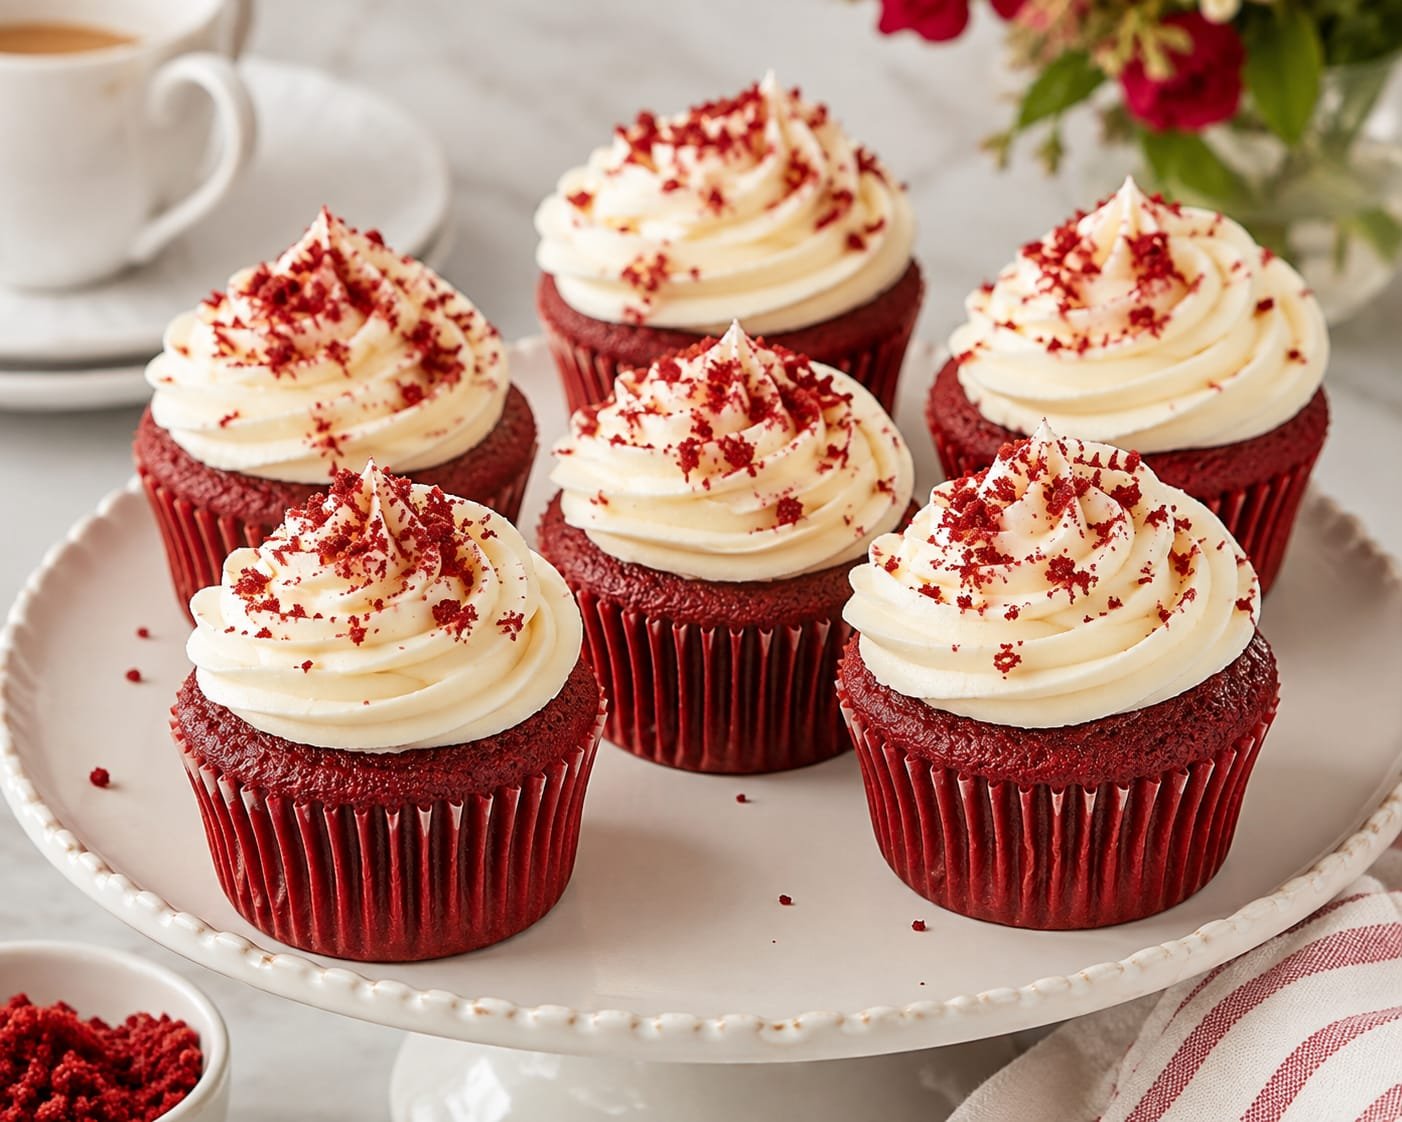
There is something so special about a beautiful Red Velvet Cupcake. The deep red colour, soft cocoa flavour and delicate crumb make these cupcakes feel a little more special than an everyday bake. Finished with a smooth cream cheese frosting, they are perfect for birthdays, afternoon tea, celebrations or simply when you are craving something sweet.
This Thermomix version keeps the process simple. The Thermomix makes it easy to combine the ingredients evenly, while a few simple baking tips help create cupcakes that are soft, moist and beautifully tender.
The secret to a good Red Velvet Cupcake is balance. You do not want the cocoa flavour to overpower the vanilla, and you want just enough acidity to give the cupcakes their characteristic light texture and subtle tang.
Ingredients
For the cupcakes
180 g plain flour
15 g unsweetened cocoa powder
1 teaspoon baking powder
½ teaspoon bicarbonate of soda
¼ teaspoon salt
150 g caster sugar
100 g unsalted butter, softened
2 large eggs
1 teaspoon vanilla extract
120 g buttermilk
1 teaspoon white vinegar
1 to 2 teaspoons red gel food colouring, depending on the intensity you prefer
For the cream cheese frosting
120 g unsalted butter, softened
200 g full-fat cream cheese, chilled
100 g icing sugar, sifted
1 teaspoon vanilla extract
A small pinch of salt
For decoration
Red Velvet cupcake crumbs
A little grated white chocolate
Small red sprinkles
Fresh berries, optional
Prepare the Cupcake Mixture
Preheat your oven to 175°C and line a 12-hole muffin tin with cupcake cases.
Place the flour, cocoa powder, baking powder, bicarbonate of soda and salt into the Thermomix mixing bowl.
Mix for 5 seconds / Speed 5 to combine the dry ingredients evenly.
Transfer the dry mixture to a separate bowl and set aside.
There is no need to wash the Thermomix bowl completely at this stage.
Add the caster sugar and softened butter to the mixing bowl.
Mix for approximately 30 seconds / Speed 4 until the mixture becomes lighter and creamy.
Scrape down the sides of the bowl with the spatula.
Add the eggs one at a time, mixing for around 10 seconds / Speed 4 after each addition.
Add the vanilla extract and red food colouring.
Mix for 10 seconds / Speed 4 until the colour is evenly distributed.
Add the Buttermilk
Add the buttermilk and vinegar to the mixture.
Mix briefly for 10 seconds / Speed 3.
The mixture may look slightly different at this stage, but that is completely fine.
Add the reserved dry ingredients.
Mix for approximately 15 seconds / Speed 4.
Stop as soon as the flour has disappeared. Avoid overmixing because too much mixing can make the cupcakes heavier instead of light and tender.
Scrape down the sides if necessary and give the mixture a final gentle mix for a few seconds.
Fill the Cupcake Cases
Divide the batter evenly between the 12 cupcake cases.
Try to fill each case to around two-thirds full. This gives the cupcakes enough room to rise without overflowing.
A cookie scoop or ice cream scoop can make this step much easier and helps keep all the cupcakes similar in size.
Place the tray into the preheated oven.
Bake for approximately 18–22 minutes, or until a skewer inserted into the centre comes out clean or with only a few moist crumbs.
Try not to open the oven repeatedly during baking because this can affect the rise.
Once baked, remove the tray from the oven and allow the cupcakes to cool in the tin for about 5 minutes.
Transfer them to a wire rack and allow them to cool completely before adding the frosting.
Make the Cream Cheese Frosting
For the frosting, make sure the butter is soft but the cream cheese is still chilled.
Place the softened butter into the clean Thermomix bowl.
Mix for approximately 30 seconds / Speed 4.
Scrape down the sides and mix again until smooth.
Add the sifted icing sugar, vanilla extract and a small pinch of salt.
Mix for around 20 seconds / Speed 3.
Scrape down the sides again.
Add the chilled cream cheese.
Mix briefly at Speed 3 until the frosting becomes smooth and creamy.
Be careful not to overmix cream cheese frosting. Excessive mixing can make it softer and more difficult to pipe.
If the frosting seems too soft, place it in the refrigerator for 15–20 minutes before decorating.
Decorating the Red Velvet Cupcakes
Once the cupcakes are completely cool, transfer the cream cheese frosting into a piping bag fitted with your favourite nozzle.
Pipe a generous swirl onto each cupcake.
For a classic Red Velvet finish, crumble one cupcake or a small piece of cupcake into fine crumbs and sprinkle them over the frosting.
You can also add a little white chocolate or a few red sprinkles.
For Valentine’s Day or a special celebration, small heart-shaped decorations look beautiful on top.
Keep the decoration simple if you want that classic bakery-style appearance.
Tips for Soft Red Velvet Cupcakes
Do not overmix the batter: Once the dry ingredients are incorporated, stop mixing.
Use gel colouring: Gel food colouring generally gives a stronger colour without adding too much liquid to the batter.
Use room-temperature ingredients: Soft butter and room-temperature eggs usually combine more smoothly.
Do not frost warm cupcakes: Even slightly warm cupcakes can melt the cream cheese frosting.
Measure the flour carefully: Too much flour can result in dry cupcakes.
Do not overbake: Red Velvet cupcakes are best when they remain soft and moist in the centre.
Chill the frosting if necessary: Cream cheese frosting becomes easier to pipe when it is slightly chilled.
What Makes Red Velvet Different?
Red Velvet is not simply a chocolate cupcake with red colouring.
Traditional Red Velvet has a relatively mild cocoa flavour combined with vanilla and a slight tang from acidic ingredients such as buttermilk and vinegar.
The result is a soft, delicate flavour that sits somewhere between vanilla and chocolate.
The cream cheese frosting is the perfect match because its slight tang balances the sweetness of the cupcake.
Make Them Ahead
These cupcakes are perfect for preparing ahead of time.
The cupcakes can be baked a day before serving and stored in an airtight container once completely cool.
The frosting can also be prepared ahead and kept refrigerated.
When you are ready to decorate, allow the frosting to soften slightly if it has become very firm in the refrigerator.
For the best texture and appearance, decorate the cupcakes on the day you plan to serve them.
Because the frosting contains cream cheese, keep the finished cupcakes refrigerated and avoid leaving them at room temperature for extended periods.
Serving Ideas
Serve these beautiful Red Velvet Cupcakes with tea, coffee or a cold glass of milk.
They are perfect for birthdays, baby showers, afternoon tea, Valentine’s Day, Christmas celebrations or a simple weekend baking project.
You can also make mini versions for parties. Simply use a mini muffin tray and reduce the baking time, checking them early because smaller cupcakes cook much faster.
Final Thoughts
These Thermomix Red Velvet Cupcakes are soft, beautifully coloured and packed with that classic combination of gentle cocoa, vanilla and creamy tangy frosting.
The recipe is simple enough for a relaxed weekend bake but special enough to serve to guests. Once you have made them, they are likely to become one of those recipes you return to whenever you need a beautiful homemade treat.
The best part is cutting into a soft red cupcake and getting that creamy swirl of cream cheese frosting in every bite.
Have you made Red Velvet Cupcakes in your Thermomix before? ❤️ Would you keep the classic cream cheese frosting or add a little chocolate decoration on top?
