



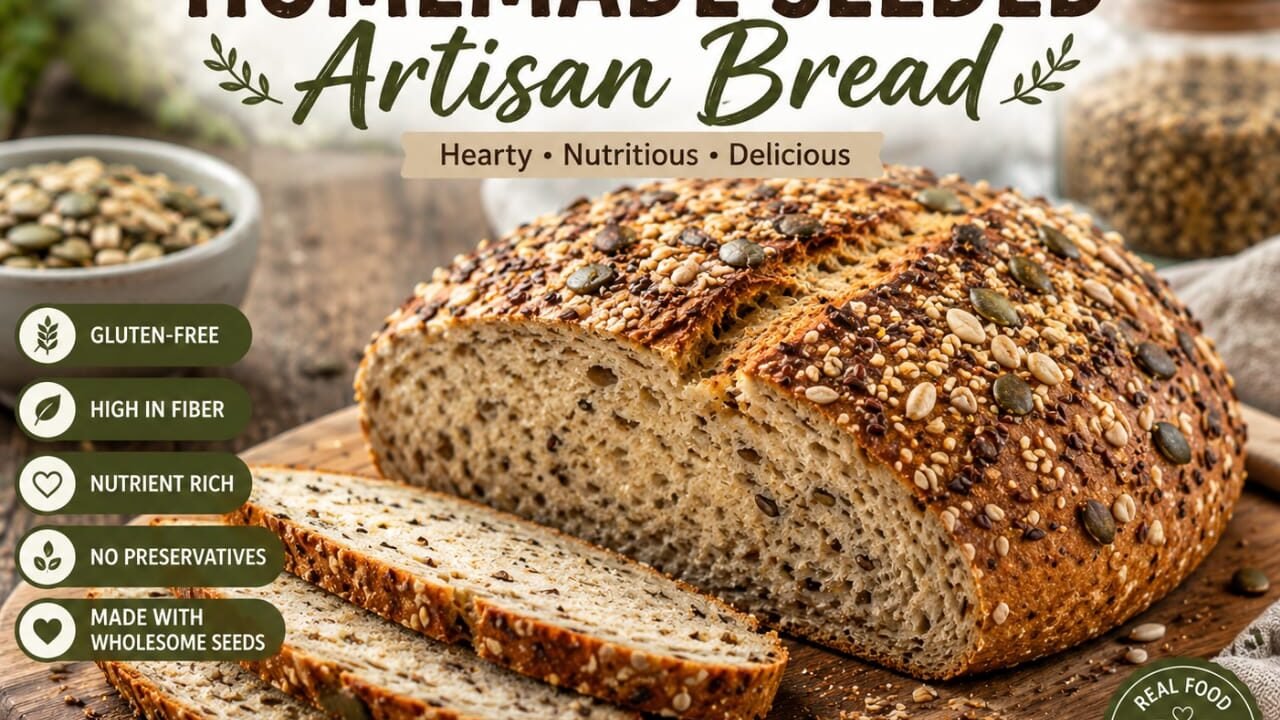

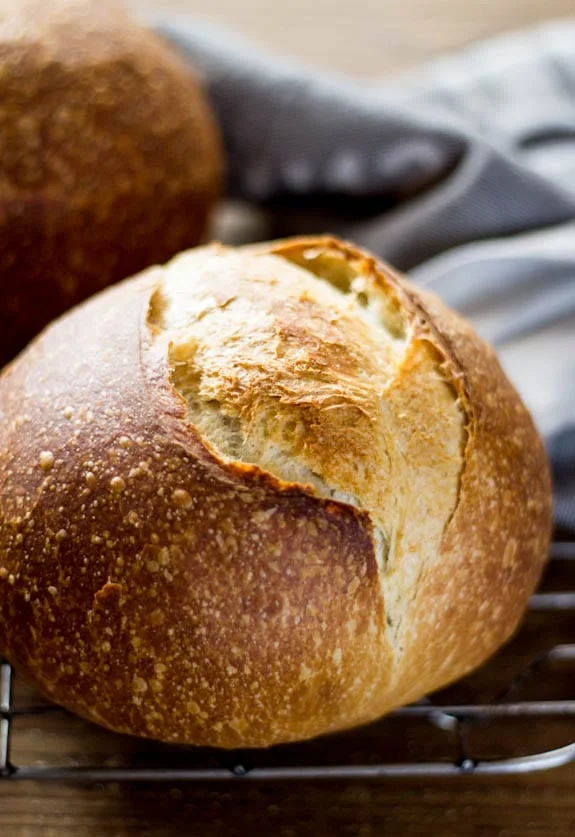
classic artisan sourdough bread: Few foods are as satisfying as a loaf of homemade artisan sourdough bread. With its crisp, golden crust, chewy interior, and deep, tangy flavor, sourdough has been enjoyed for thousands of years. Unlike commercial bread that relies on instant yeast, sourdough is naturally leavened using a sourdough starter—a living culture of wild yeast and beneficial bacteria. While making sourdough requires patience, the process is simple and rewarding. This recipe will guide you through creating a classic artisan loaf with a beautifully open crumb and a rich, complex flavor.
Ingredients
For one medium loaf:
Dough
- 500 g bread flour
- 350 g water (room temperature)
- 100 g active sourdough starter (fed and bubbly)
- 10 g fine sea salt
Equipment
- Large mixing bowl
- Kitchen scale
- Dough scraper
- Banneton or bowl lined with a clean kitchen towel
- Dutch oven with lid
- Sharp razor blade or bread lame
- Cooling rack
Preparing the Starter
Your sourdough starter should be active before baking. Feed it about 4–6 hours before mixing the dough, depending on room temperature. It should double in size, appear bubbly, and pass the “float test,” meaning a small spoonful floats in water. While the float test is optional, a bubbly, expanded starter is the best indicator that it is ready.
Step 1: Mix the Dough
In a large bowl, combine the water and active sourdough starter until mostly dissolved. Add the bread flour and mix until no dry flour remains. The dough will look shaggy and sticky.
Cover the bowl and let it rest for 30–45 minutes. This resting period is called the autolyse. During this time, the flour absorbs water, making gluten development easier and improving the dough’s texture.
Step 2: Add the Salt
Sprinkle the salt evenly over the dough. Wet your hands slightly and gently squeeze and fold the dough until the salt is fully incorporated. The dough may feel slippery at first, but it will soon become smooth and cohesive.
Cover the bowl again.
Step 3: Bulk Fermentation
Allow the dough to ferment at room temperature for about 4–6 hours. During this time, strengthen the dough by performing stretch-and-folds.
Every 30 minutes during the first 2 hours:
- Wet your hands.
- Lift one side of the dough.
- Stretch it upward.
- Fold it over itself.
- Rotate the bowl and repeat four times.
After completing four rounds of stretch-and-folds, leave the dough undisturbed for the remainder of the bulk fermentation.
The dough is ready when it has increased in volume by about 50%, feels airy, and shows bubbles around the edges.
Step 4: Pre-Shape
Lightly flour your work surface and gently turn the dough out of the bowl.
Shape it loosely into a round by folding the edges toward the center and turning it against the countertop to build surface tension.
Let the dough rest uncovered for 20–30 minutes.
Step 5: Final Shaping
Dust the top of the dough lightly with flour.
Flip it over so the floured side faces down.
Fold the sides inward, then roll the dough tightly into a round or oval, depending on the shape of your proofing basket.
The goal is to create a taut outer surface without tearing the dough.
Place the dough seam-side up into a floured banneton or towel-lined bowl.
Step 6: Final Proof
Cover the dough and proof using one of these methods:
- Room temperature: 2–3 hours
- Cold proof: Refrigerate for 8–16 hours
An overnight cold proof develops deeper flavor and makes scoring easier.
The dough is ready when it slowly springs back after being gently pressed with a finger.
Step 7: Preheat the Oven
About 45 minutes before baking, place a Dutch oven with its lid inside the oven.
Preheat to 250°C (480°F).
A thoroughly heated Dutch oven creates steam, helping produce a crisp crust and excellent oven spring.
Step 8: Score the Dough
Carefully remove the hot Dutch oven.
Turn the dough onto a piece of parchment paper.
Using a razor blade or bread lame, make one long slash about 1 cm deep across the top. Additional decorative cuts may also be added.
Scoring allows the bread to expand in a controlled way during baking.
Step 9: Bake
Transfer the dough, along with the parchment paper, into the Dutch oven.
Cover with the lid.
Bake:
- 20 minutes with the lid on
- Reduce the temperature to 230°C (445°F)
- Remove the lid
- Bake another 20–25 minutes until deep golden brown
The loaf should sound hollow when tapped on the bottom.
An internal temperature of 96–99°C (205–210°F) indicates the bread is fully baked.
Step 10: Cool Completely
Transfer the bread to a cooling rack.
Allow it to cool for at least one hour before slicing.
Although it is tempting to cut into fresh bread immediately, cooling allows the crumb to finish setting, resulting in better texture and easier slicing.
Tips for Success
- Use a strong bread flour with a protein content of at least 12%.
- Weigh ingredients using a kitchen scale for the most accurate results.
- Avoid adding excessive flour during shaping, as this can make sealing difficult.
- If your kitchen is cool, fermentation will take longer. In warmer conditions, watch the dough rather than the clock.
- Practice gentle handling to preserve the air bubbles created during fermentation.
- A cold overnight proof enhances both flavor and crust color.
Storage
Store sourdough at room temperature in a paper bag, bread box, or wrapped loosely in a clean kitchen towel for up to three days. Avoid storing it in the refrigerator, as this can cause the bread to become stale more quickly. For longer storage, slice the loaf and freeze it in an airtight freezer bag for up to three months. Individual slices can be toasted directly from frozen.
Serving Suggestions
Classic artisan sourdough is incredibly versatile. Enjoy it fresh with butter, olive oil, or fruit preserves for breakfast. Toast slices for avocado toast or sandwiches, serve alongside soups and stews, or use day-old bread for croutons, breadcrumbs, bread pudding, or French toast. Its tangy flavor pairs especially well with cheeses, roasted vegetables, smoked salmon, and hearty spreads.
Conclusion
Making artisan sourdough bread is both a science and an art. While the process takes time, each stage—from feeding the starter to stretching, folding, shaping, and baking—contributes to the loaf’s distinctive flavor and texture. With only four simple ingredients and a little patience, you can create bakery-quality bread in your own kitchen. As you gain experience, you’ll learn to recognize the feel of well-fermented dough and adjust fermentation times according to your environment. Every loaf is unique, making sourdough baking a deeply rewarding craft. Whether shared with family, served at the table, or enjoyed fresh from the oven with a spread of butter, a homemade artisan sourdough loaf is a timeless expression of traditional bread
