





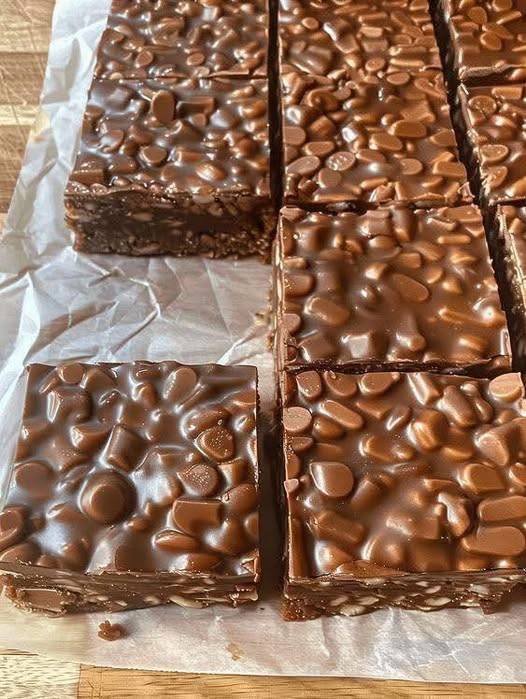
Peanut butter cookies recipe are a classic homemade treat loved for their rich peanut flavor, soft centers, and slightly crisp edges. They are simple to prepare and require basic ingredients that are usually available in most kitchens. Whether you are baking for your family, preparing snacks for guests, or simply craving something sweet, this peanut butter cookie recipe is an excellent choice. The cookies are buttery, nutty, golden brown, and delicious with a glass of cold milk or a cup of tea.
Ingredients
To make approximately 24 peanut butter cookies, you will need:
- 1 cup creamy peanut butter
- ½ cup unsalted butter, softened
- ¾ cup granulated sugar
- ½ cup brown sugar, packed
- 1 large egg
- 1 teaspoon vanilla extract
- 1½ cups all-purpose flour
- ¾ teaspoon baking soda
- ½ teaspoon baking powder
- ¼ teaspoon salt
For an optional finishing touch, you can use a little extra granulated sugar for coating the cookies before baking.
Equipment
You will need a large mixing bowl, a medium bowl, an electric mixer or wooden spoon, measuring cups and spoons, a baking sheet, parchment paper, a cookie scoop or tablespoon, and a fork.
Step 1: Prepare the Oven and Baking Sheet
Begin by preheating your oven to 350°F (175°C). Proper preheating is important because cookies need to enter an oven that has already reached the correct temperature. If the oven is too cool, the cookies may spread excessively or remain underbaked.
Line a baking sheet with parchment paper. The parchment prevents the cookies from sticking and also makes cleanup easier. If you do not have parchment paper, lightly grease the baking sheet.
Step 2: Cream the Butter and Sugars
Place the softened butter, granulated sugar, and brown sugar in a large mixing bowl. Beat the ingredients together until the mixture becomes light, creamy, and fluffy. This usually takes about two to three minutes with an electric mixer.
Creaming the butter and sugar properly helps create a pleasant cookie texture. Make sure the butter is softened rather than completely melted. Melted butter can cause the cookies to spread too much during baking.
Step 3: Add Peanut Butter and Wet Ingredients
Add the peanut butter to the butter-and-sugar mixture. Mix until everything is evenly combined and smooth.
Next, add the egg and vanilla extract. Beat again until the mixture becomes creamy and uniform. Scrape the sides of the bowl with a spatula if necessary so that all the ingredients are incorporated.
For the best results, use regular creamy peanut butter. Natural peanut butter can sometimes separate, which may change the texture of the cookies unless it is thoroughly mixed before use.
Step 4: Combine the Dry Ingredients
In a separate bowl, whisk together the all-purpose flour, baking soda, baking powder, and salt.
Combining the dry ingredients separately helps distribute the baking soda, baking powder, and salt throughout the flour. This ensures that the cookies rise and bake evenly.
Gradually add the dry mixture to the peanut butter mixture. Mix gently until the flour is just incorporated. Avoid overmixing the dough because excessive mixing can make the cookies tougher instead of tender.
The finished dough should be soft and easy to handle. If it feels unusually sticky, refrigerate it for about 20 to 30 minutes.
Step 5: Shape the Cookies
Use a cookie scoop or tablespoon to divide the dough into small, evenly sized portions. Roll each portion between your hands to form a ball.
Place the dough balls on the prepared baking sheet, leaving about two inches of space between them. The cookies will spread while baking, so adequate space prevents them from joining together.
For the traditional peanut butter cookie appearance, use a fork to gently press a crisscross pattern on top of each dough ball. Dip the fork lightly in sugar if it sticks to the dough.
Do not flatten the cookies too aggressively. A gentle press is enough to create the familiar pattern while leaving the cookies thick enough to develop a soft center.
Step 6: Bake the Cookies
Place the baking sheet in the preheated oven and bake the cookies for approximately 9 to 12 minutes.
The edges should look lightly golden, while the centers may still appear slightly soft. Do not wait until the entire cookie becomes dark brown. Cookies continue cooking from their residual heat after they are removed from the oven.
Baking time can vary depending on the size of the cookies and the characteristics of your oven, so keep an eye on them during the final few minutes.
Step 7: Cool the Cookies
When the cookies are finished, remove the baking sheet from the oven and allow the cookies to cool on the sheet for about five minutes. They will be delicate when they first come out of the oven.
After five minutes, transfer them carefully to a wire cooling rack. Allow them to cool completely before storing.
Cooling helps the cookies develop their final texture. Freshly baked cookies may seem very soft, but they become firmer as they cool.
Tips for Perfect Peanut Butter Cookies
For consistently delicious cookies, keep a few important tips in mind. First, measure the flour carefully. Too much flour can make cookies dry and crumbly. If possible, use a kitchen scale; otherwise, spoon flour into a measuring cup and level the top rather than packing it down.
Second, use softened butter rather than melted butter. Soft butter combines more effectively with the sugars and helps create the desired texture.
Third, avoid overbaking. Peanut butter cookies are usually best when the edges are lightly golden and the centers remain slightly soft. Overbaking can result in dry, hard cookies.
You can also experiment with different types of peanut butter. Creamy peanut butter produces a smooth cookie, while crunchy peanut butter adds small pieces of peanuts and extra texture.
Optional Variations
This basic recipe can easily be customized. For chocolate peanut butter cookies, add ½ cup of chocolate chips to the dough. You can also press a chocolate candy into the center of each cookie immediately after baking.
For extra crunch, add chopped roasted peanuts. If you enjoy a sweeter flavor, sprinkle a small amount of sugar over the cookies before baking.
Another delicious variation is to sandwich two completely cooled cookies together with a thin layer of chocolate or peanut butter frosting.
How to Store Peanut Butter Cookies
Store completely cooled cookies in an airtight container at room temperature. They generally remain enjoyable for several days when properly sealed.
If you want to prepare the dough in advance, shape it into individual balls and freeze the portions on a tray. Once frozen, transfer them to a freezer-safe container or bag. When you are ready to bake, place the frozen dough portions on a baking sheet and bake them, allowing a little additional time if needed.
Serving Suggestions
Peanut butter cookies are delicious on their own, but they can also be served with many beverages and desserts. A cold glass of milk is a traditional pairing. They are also excellent with tea, coffee, hot chocolate, or a scoop of vanilla ice cream.
For parties and gatherings, arrange the cookies on a serving plate and decorate them with melted chocolate or a light dusting of powdered sugar.
Conclusion
Homemade peanut butter cookies are an easy and rewarding dessert that combines simple ingredients into a wonderfully rich and comforting treat. The key to success is using softened butter, measuring the ingredients accurately, avoiding overmixing, and taking care not to overbake the cookies.
With their golden edges, soft centers, and unmistakable peanut butter flavor, these cookies are suitable for everyday snacks as well as special occasions. Once you have mastered the basic recipe, you can experiment with chocolate chips, chopped peanuts, or other additions to create your own favorite version.
Most importantly, enjoy the baking process. The aroma of freshly baked peanut butter cookies filling the kitchen is almost as satisfying as eating them. With this straightforward recipe, you can make a delicious batch of cookies that family and friends are sure to enjoy.
